
 Version
Select which version of the calendar you have
- Desktop Calendar 7
- FAQ
- Walkthrough
- Hotkeys
- Installation
- Desktop Calendar 0.5
- Desktop Calendar 0.4
 Contact
Can't find the answer to your question here? Contact us.
Desktop Calendar 7 Installation
Step 1 - Downloading
After purchasing the upgrade, you will be e-mailed a download link. Click on the link to continue.
If you are using Internet Explorer, a popup will then appear:

This is because the installer is an executable file (a program that runs directly on your computer). Internet Explorer does not know if it is malicious or safe, so simply states it could be harmful. Click 'Run' to start the installer, or 'Save' if you would also like to store a copy on your computer for future use.
You will then see another warning, this time saying the publisher could not be verified. This is normal and is simply because Microsoft does not recognise who made the program. Click 'Run' to continue.

Step 2 - Windows Security
After launching the installer, you will then see a Windows security warning. This again is perfectly normal and is just asking for your consent to install the program:
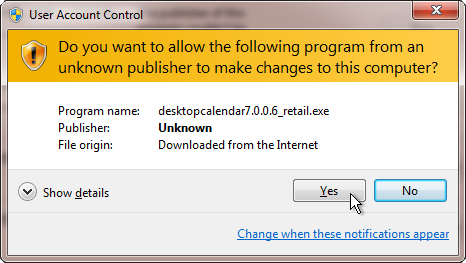
The message may differ slightly depending on your version of Windows. Click 'Yes' or 'Allow' to continue.
Step 3 - Installing
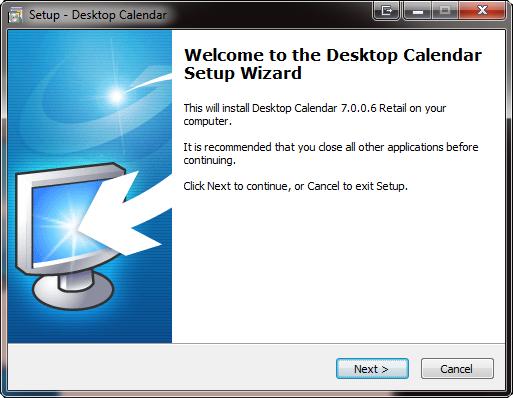
When the installer starts you will see the welcome screen. Click 'Next' to continue.
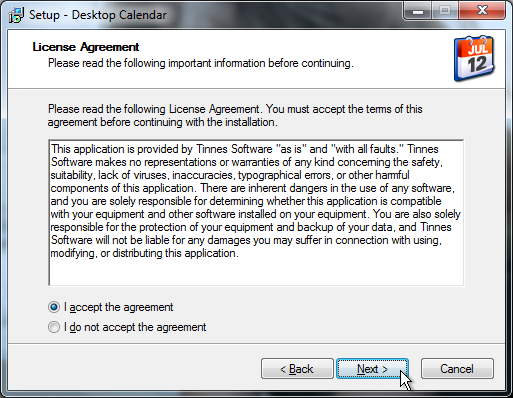
A short licence agreement will be shown. If you agree with the terms, select 'I accept the agreement' and click 'Next'.
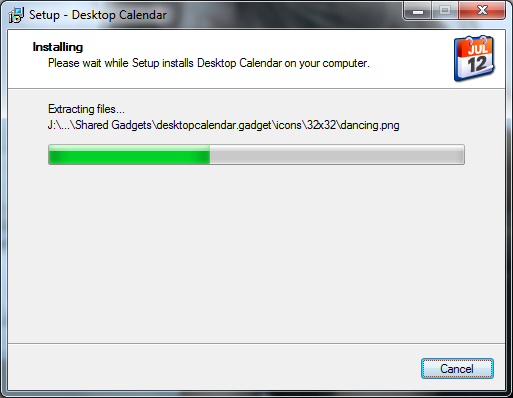
The installation will now begin:
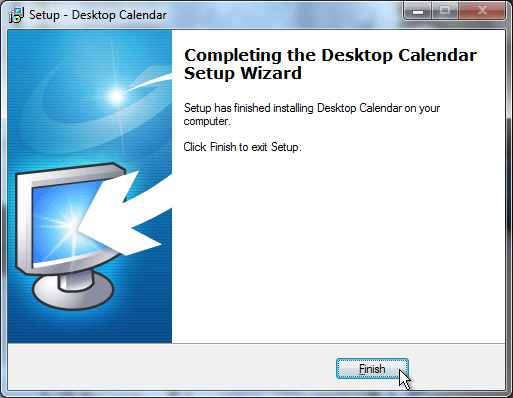
When the installer is complete, click 'Finish' to exit:
Step 4 - Displaying the calendar (not always needed)
The calendar is automatically added to your gadgets and should be displayed on your desktop shortly after the installation finishes. If it doesn't, you may need to start the gadget platform manually.
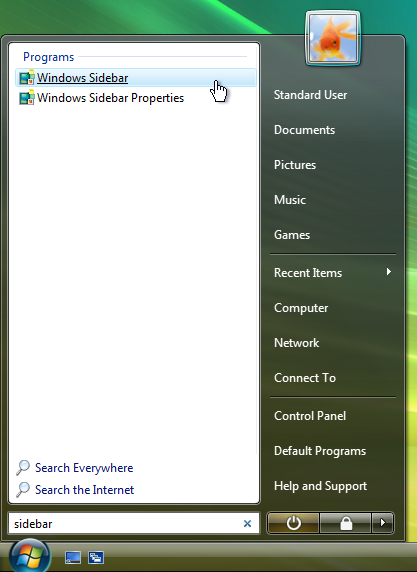
Click on the Start button and type in "sidebar" (without quotes). Click on the entry named "Windows Sidebar", it should be the first item displayed: